Allison Rainville
Home
Blog
Portfolio
Contact
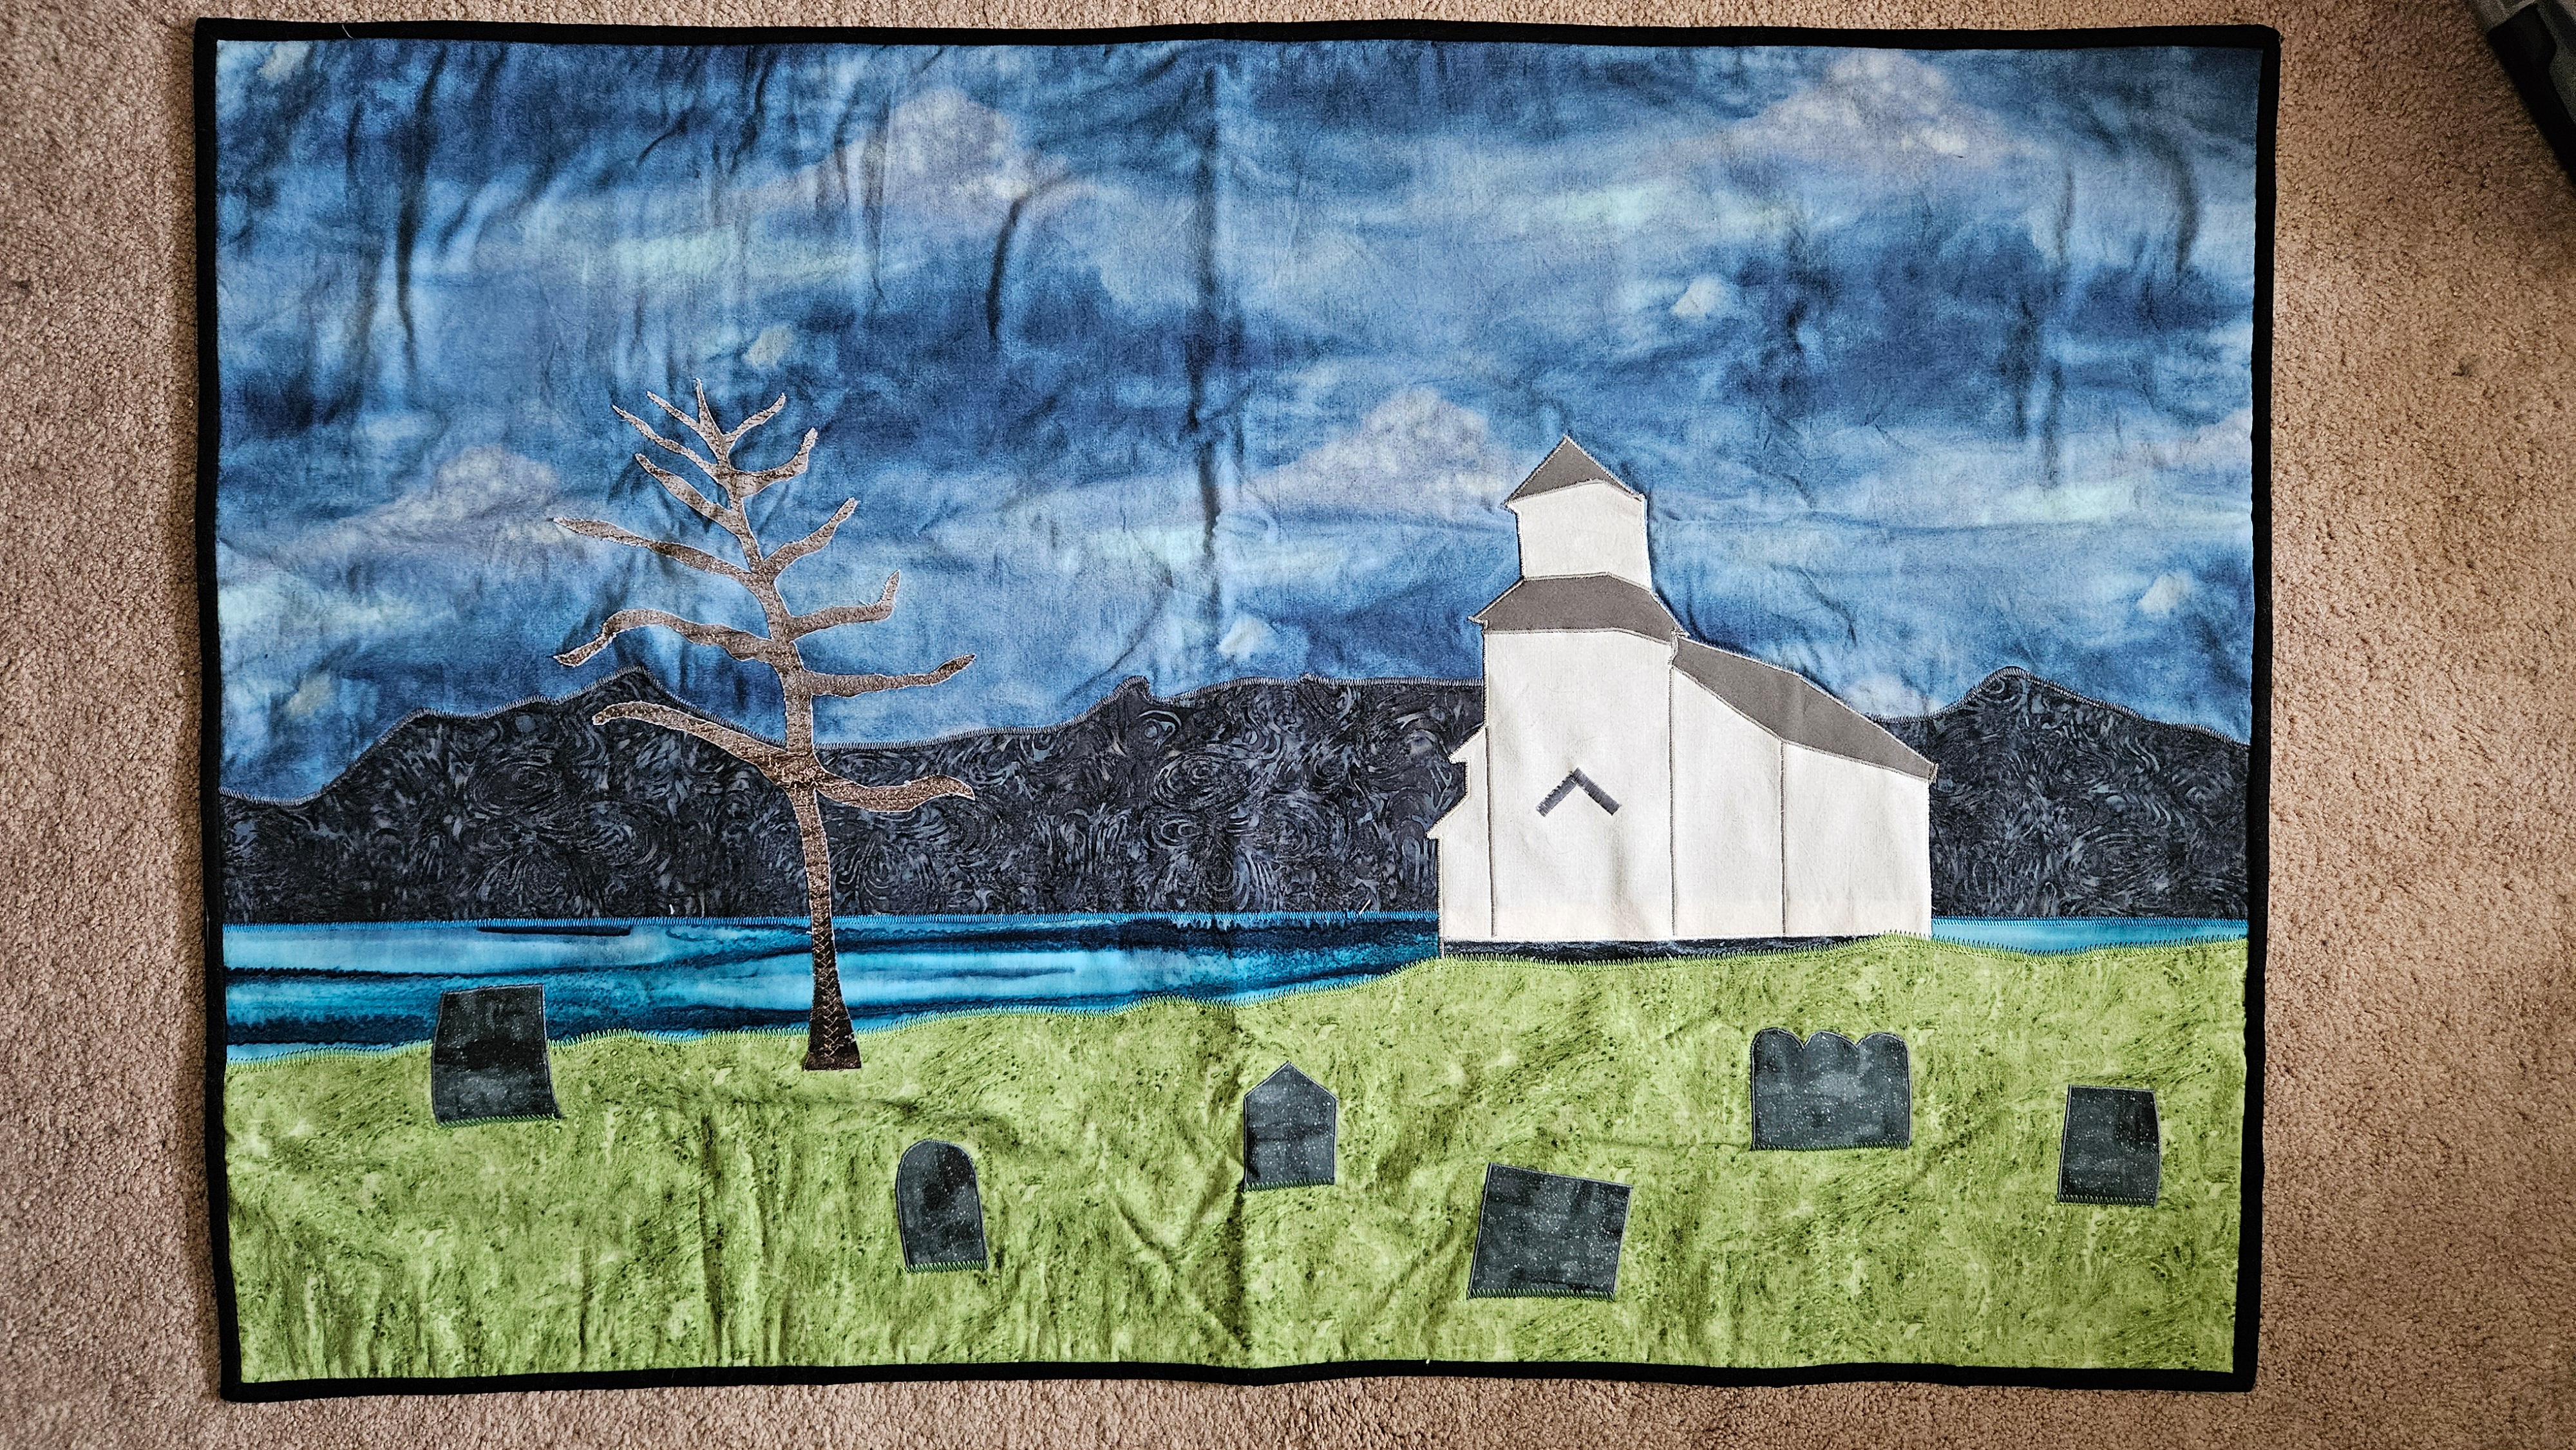
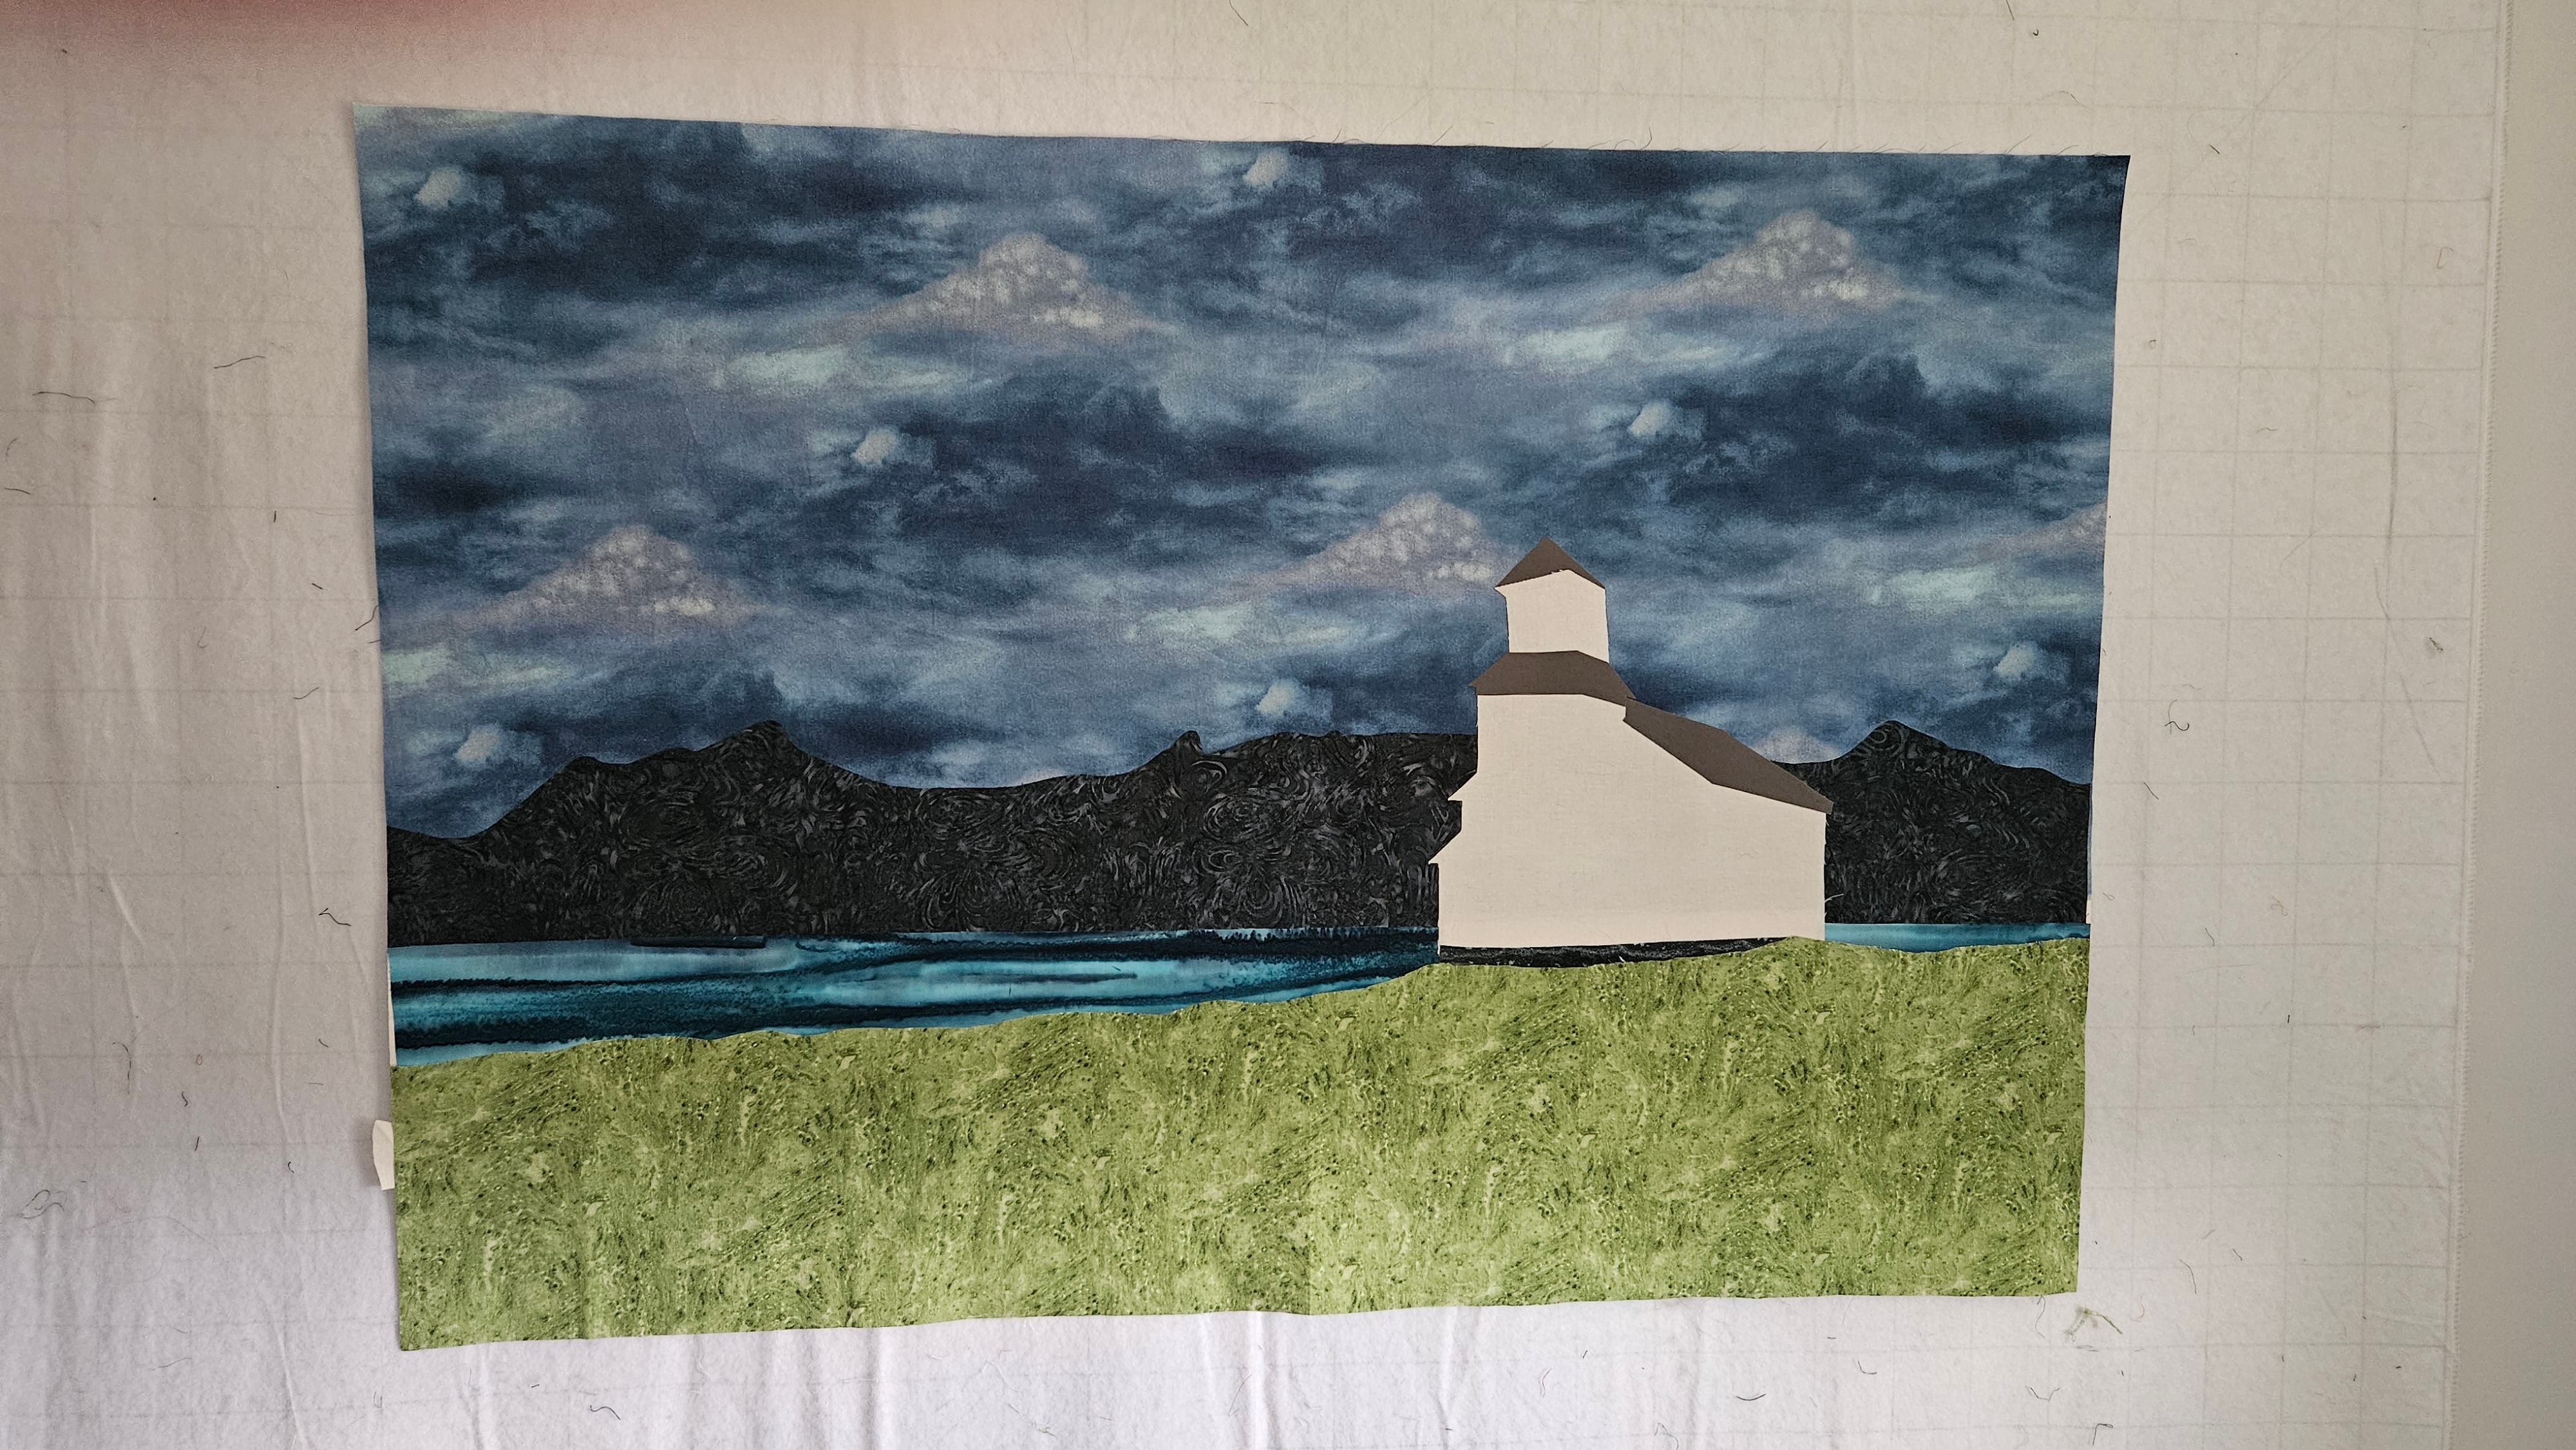
Planning the Quilts
So…Now What?
Allison Rainville
September 5, 2025
4 min read
Where Did Summer Go?!
September 2, 2025
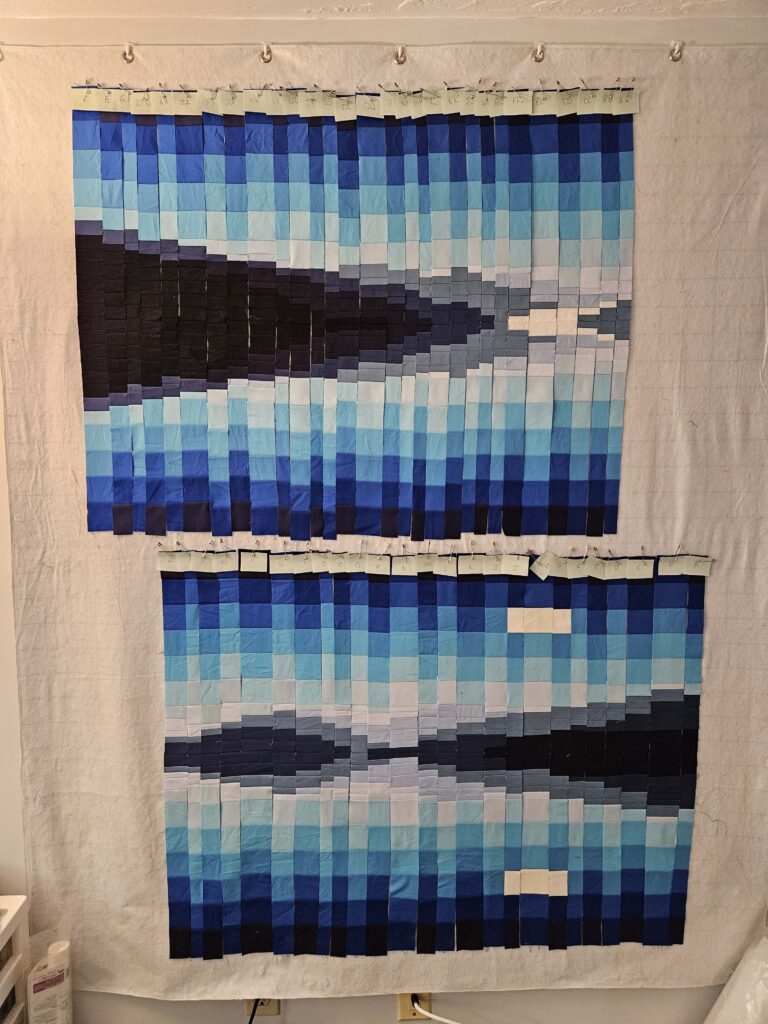
Simple Yet Evocative
July 31, 2025
Deadlines Are a Great Motivator
July 28, 2025